Best locations to drop in Black Ops 4’s Blackout
No matter your play style, this Blackout guide has you covered.
The first question that pops into players heads as they spawn into a game of Blackout is always, “where are we dropping?” Whether you’re in Solos, Duos, or Quads, the answer to this question is tantamount.
With Blackout rapidly becoming one of the most popular Battle Royale modes in gaming, newcomers to this iteration may feel a little lost. Unsure where to drop in order to secure a win? Looking to score some character unlocks? Want to get a quick kill for an easy merit? Use this simple guide to figure which part of the map is best for you.
Since there’s no general “best area” to drop, it’s important to figure out what type of game you’re going for. Breaking it down into simple categories, these are the best places to drop in Blackout depending on your play style:
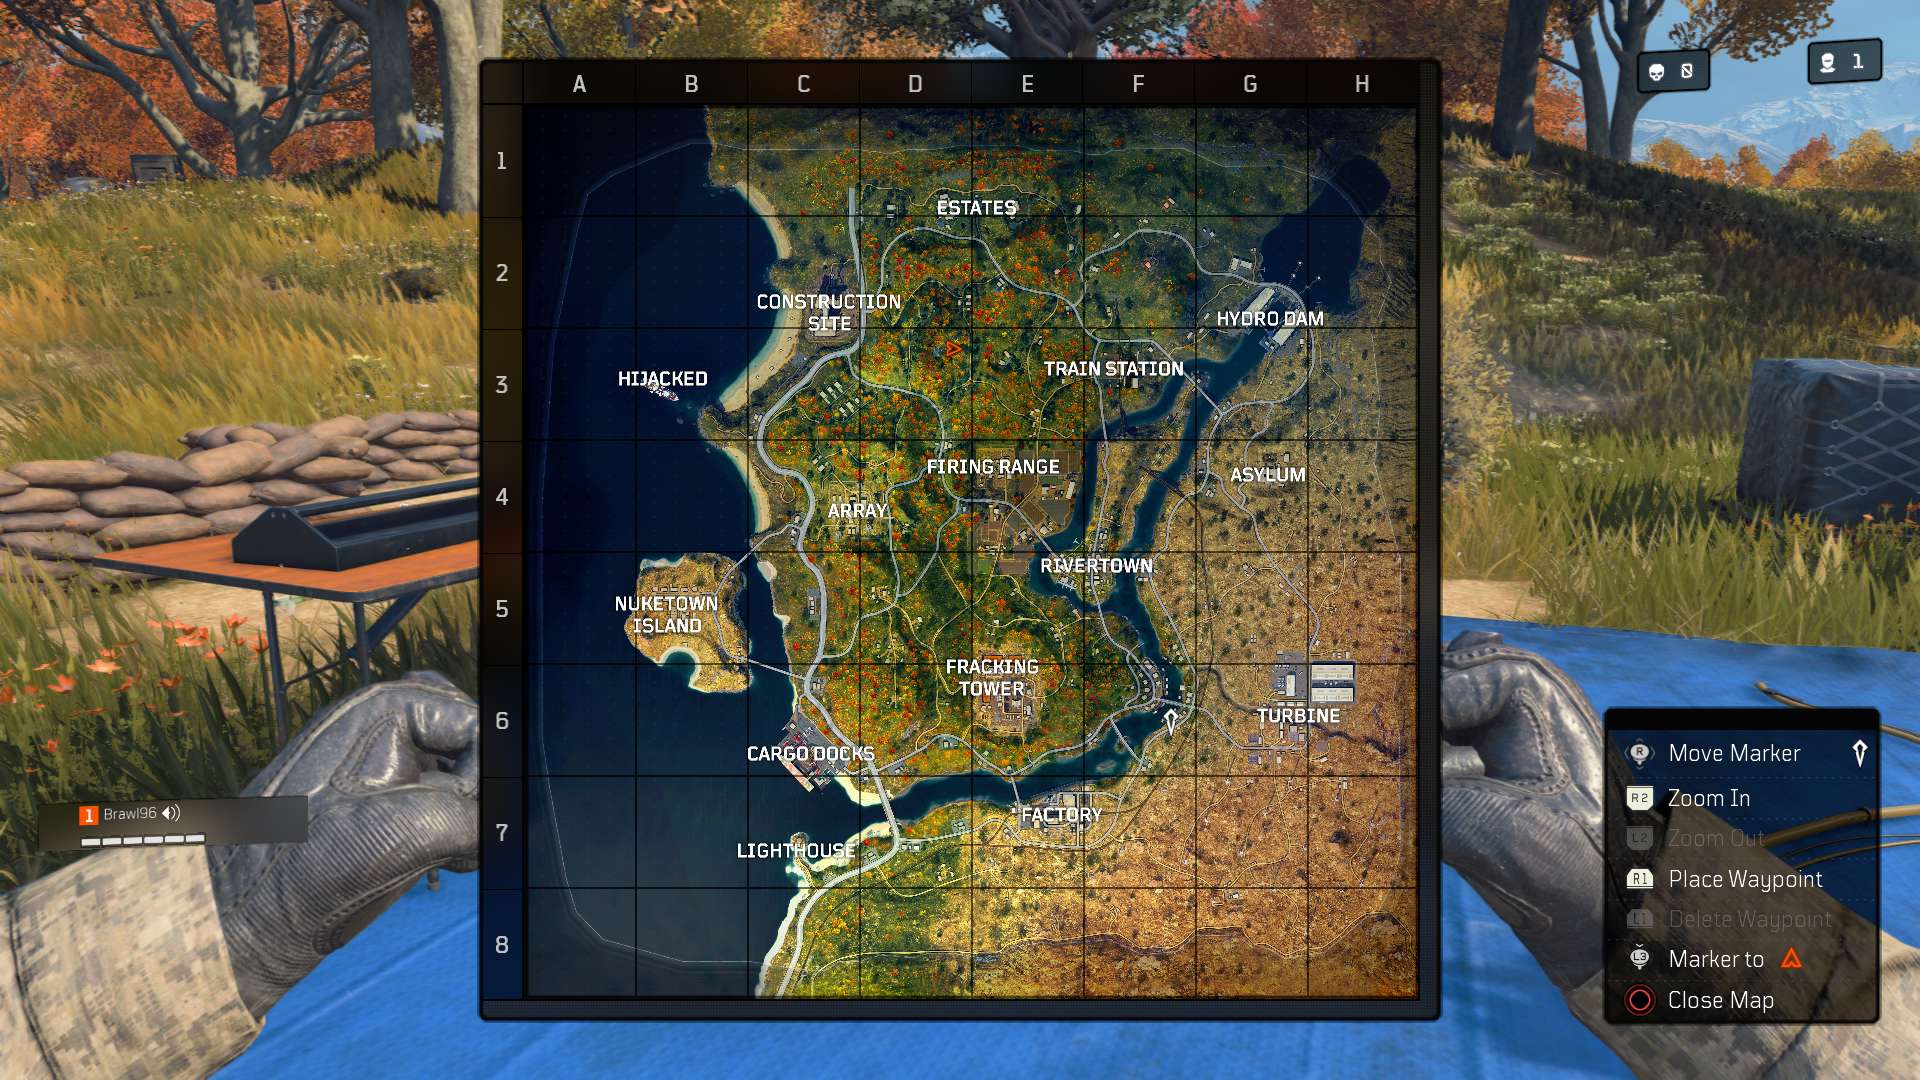
Note: The letters and numbers near each area are their coordinates on the map.
Looting and Living:
Looking to start the game off right with the intent to make it to the top 15 consistently? These three areas will almost guarantee that.
(G6): Surrounded by not a whole lot, Turbine is pouring with loot. With a high concentration of supply stashes and vehicle spawns, this area is great for getting kitted out early and making your way towards the circle safely. When in one of the two large hangers, just be sure to keep your eyes pealed for enemies at the other end as they can get the jump on you before you even know they’re there.
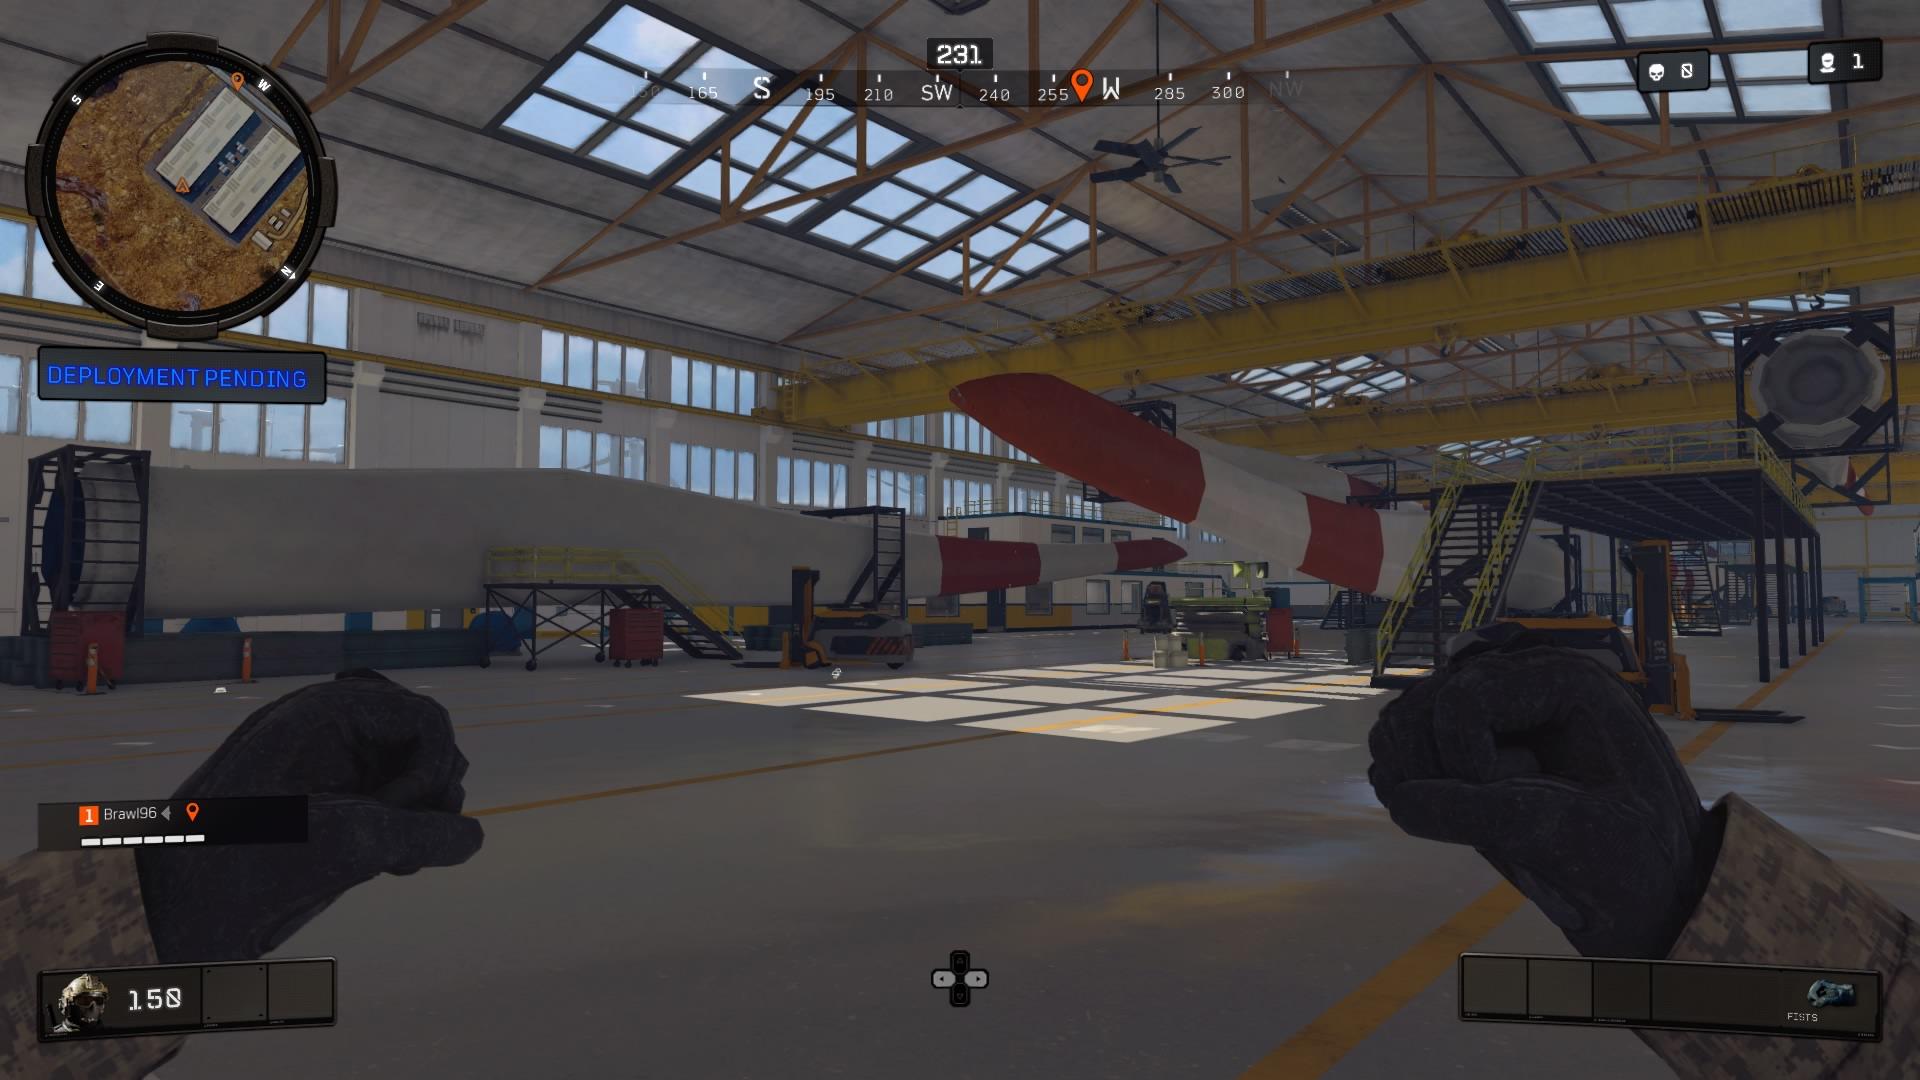 Inside the hangers of Turbine
(E7) – An often overlooked area of the map due to its proximity to Fracking Tower, Factory is a great drop location for many of the same reasons Turbine is, such as the abundant Supply Stashes and vehicle spawns. Another benefit of Factory is its tighter spaces which allow you to hear enemies sneaking up on you before they can see you.
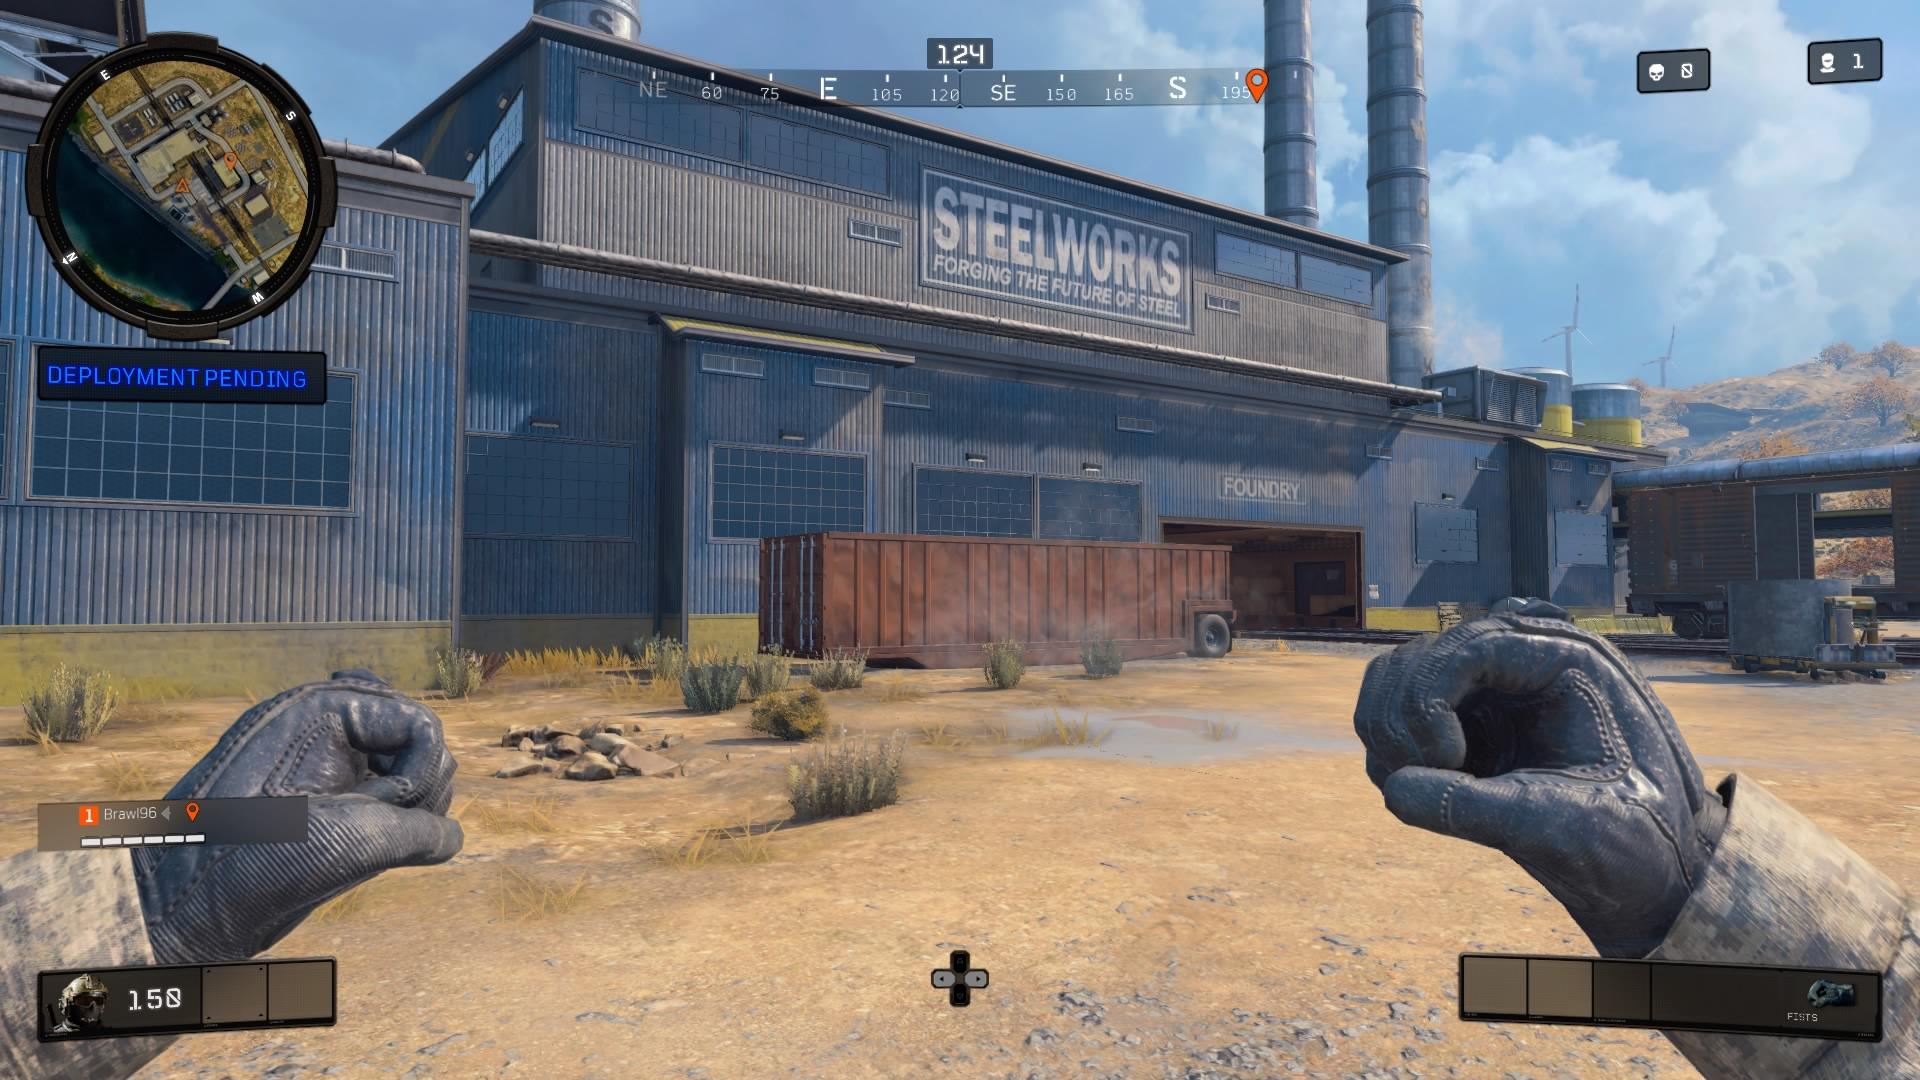 Entrance to the main building of Factory
(G2) – Aside from the copious amounts of loot that spawns within these two large buildings, dropping here puts you at a great starting point for further collapses. With guaranteed boat spawns, all water on the east side of the Blackout map starts at the Hydro Dam which allows you to ride from one end to the map to the other when the situation calls for it.
Zombies Fanatic:
Longtime Zombies fans testing out their PvP skills for the first time will find these locations very familiar. If you’re just looking for more Zombies content, these areas are a no-brainer.
(G4)- Based on Verukkt from World at War, Asylum expands on it’s source material adding a corn maze as well as an additional neighboring building. Since this is the largest Zombies location on the map, it also makes it a very popular drop zone. Make sure to grab a gun as fast as possible and take out nearby enemies before they find you.
If the LZ looks a little too hot before deploying your parachute, don’t be afraid to head a little south to the Graveyard to secure some firepower before making an assault on the Asylum.
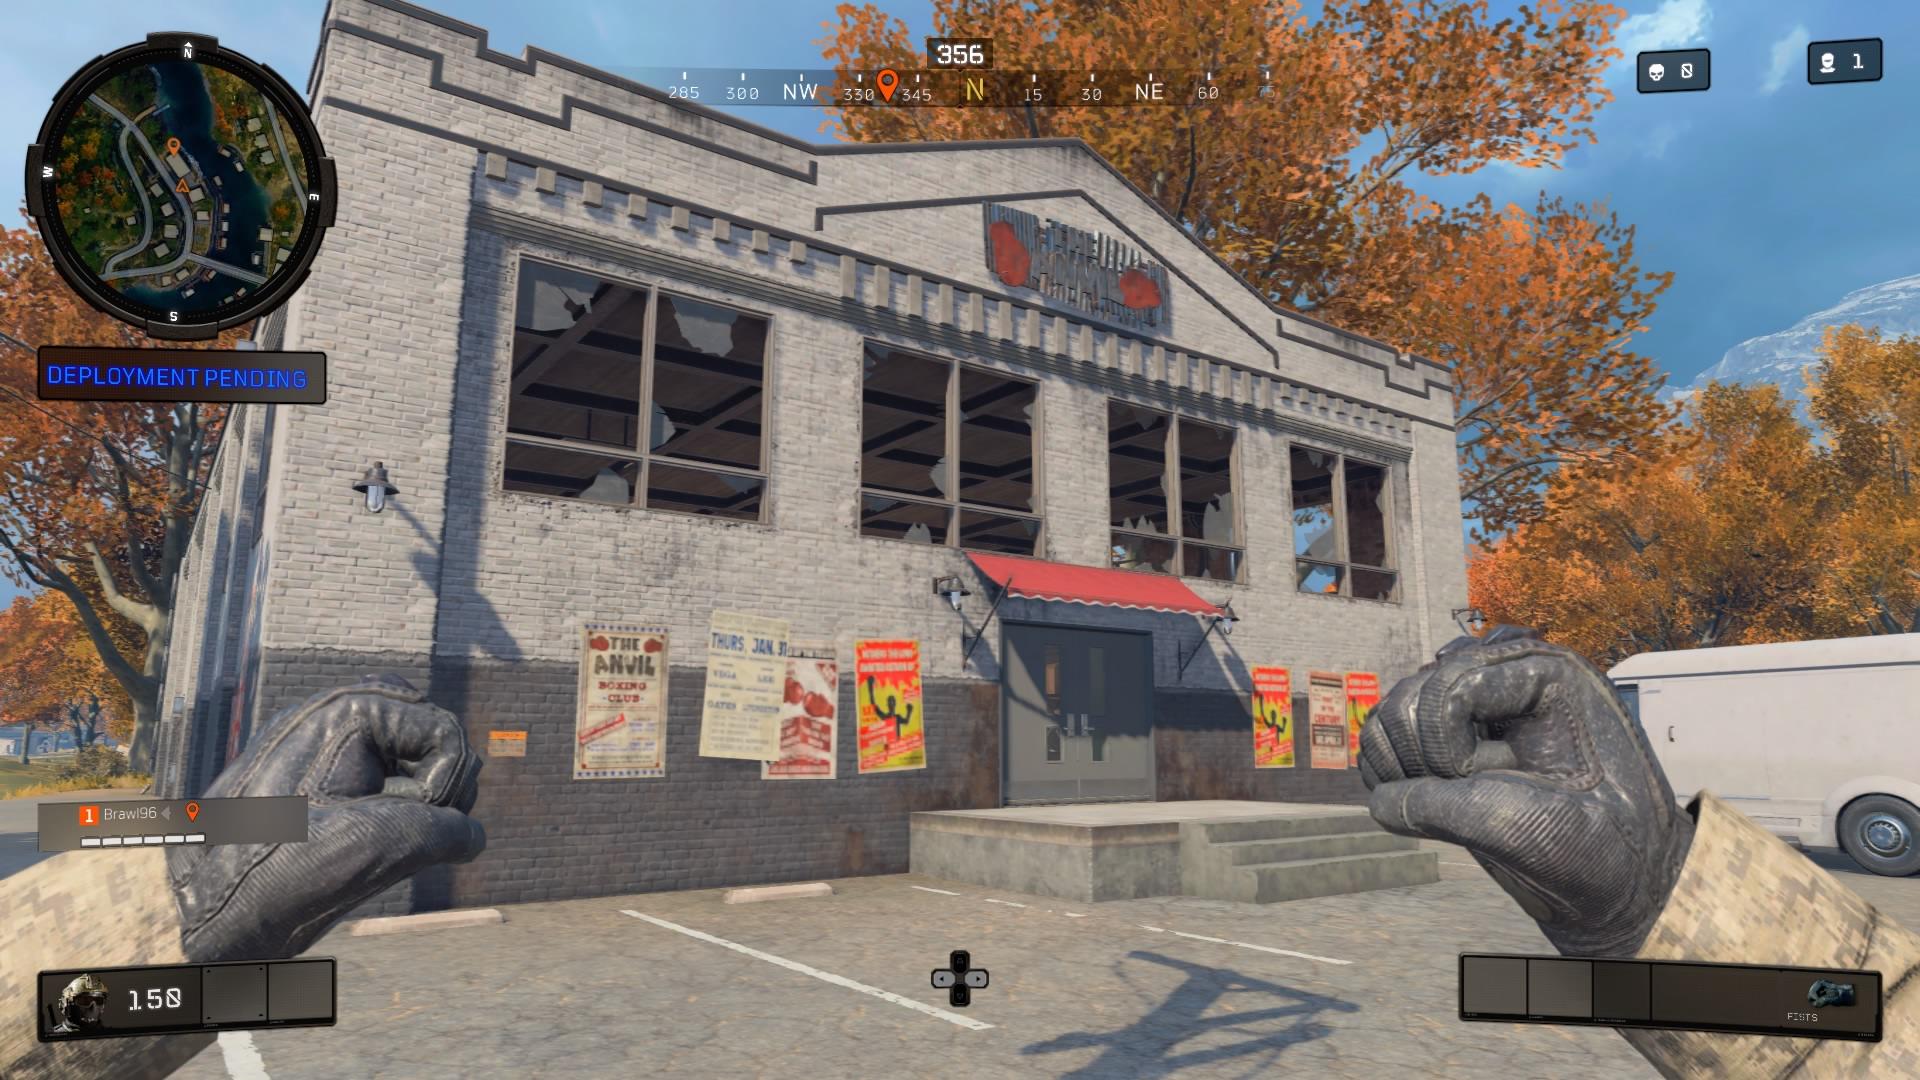 Floyd Campbell’s Boxing Ring is just south of Rivertown.
(F6) – Pulled straight out of Black Ops 3’s Shadows of Evil, this unlabeled area is great for some quick loot. With two main entrances, this area is a great drop zone with a squad because everyone can keep an eye on incoming enemies. Although the ground floor is relatively protected, pay attention to enemy equipment raining in from the broken windows above.
While there are other Zombies areas like the Diner (C4) from Tranzit, and the Lighthouse (C7) from Call of the Dead, the precarious locations of those areas make them less favorable drops zones compared to the Asylum and the Boxing Ring.
Wildin’ Out:
Looking for a quick kill or just trying to flex your skills? These areas will always be overflowing with players looking for ANY gun they can scavenge in order to defend themselves and rack up kill counts.
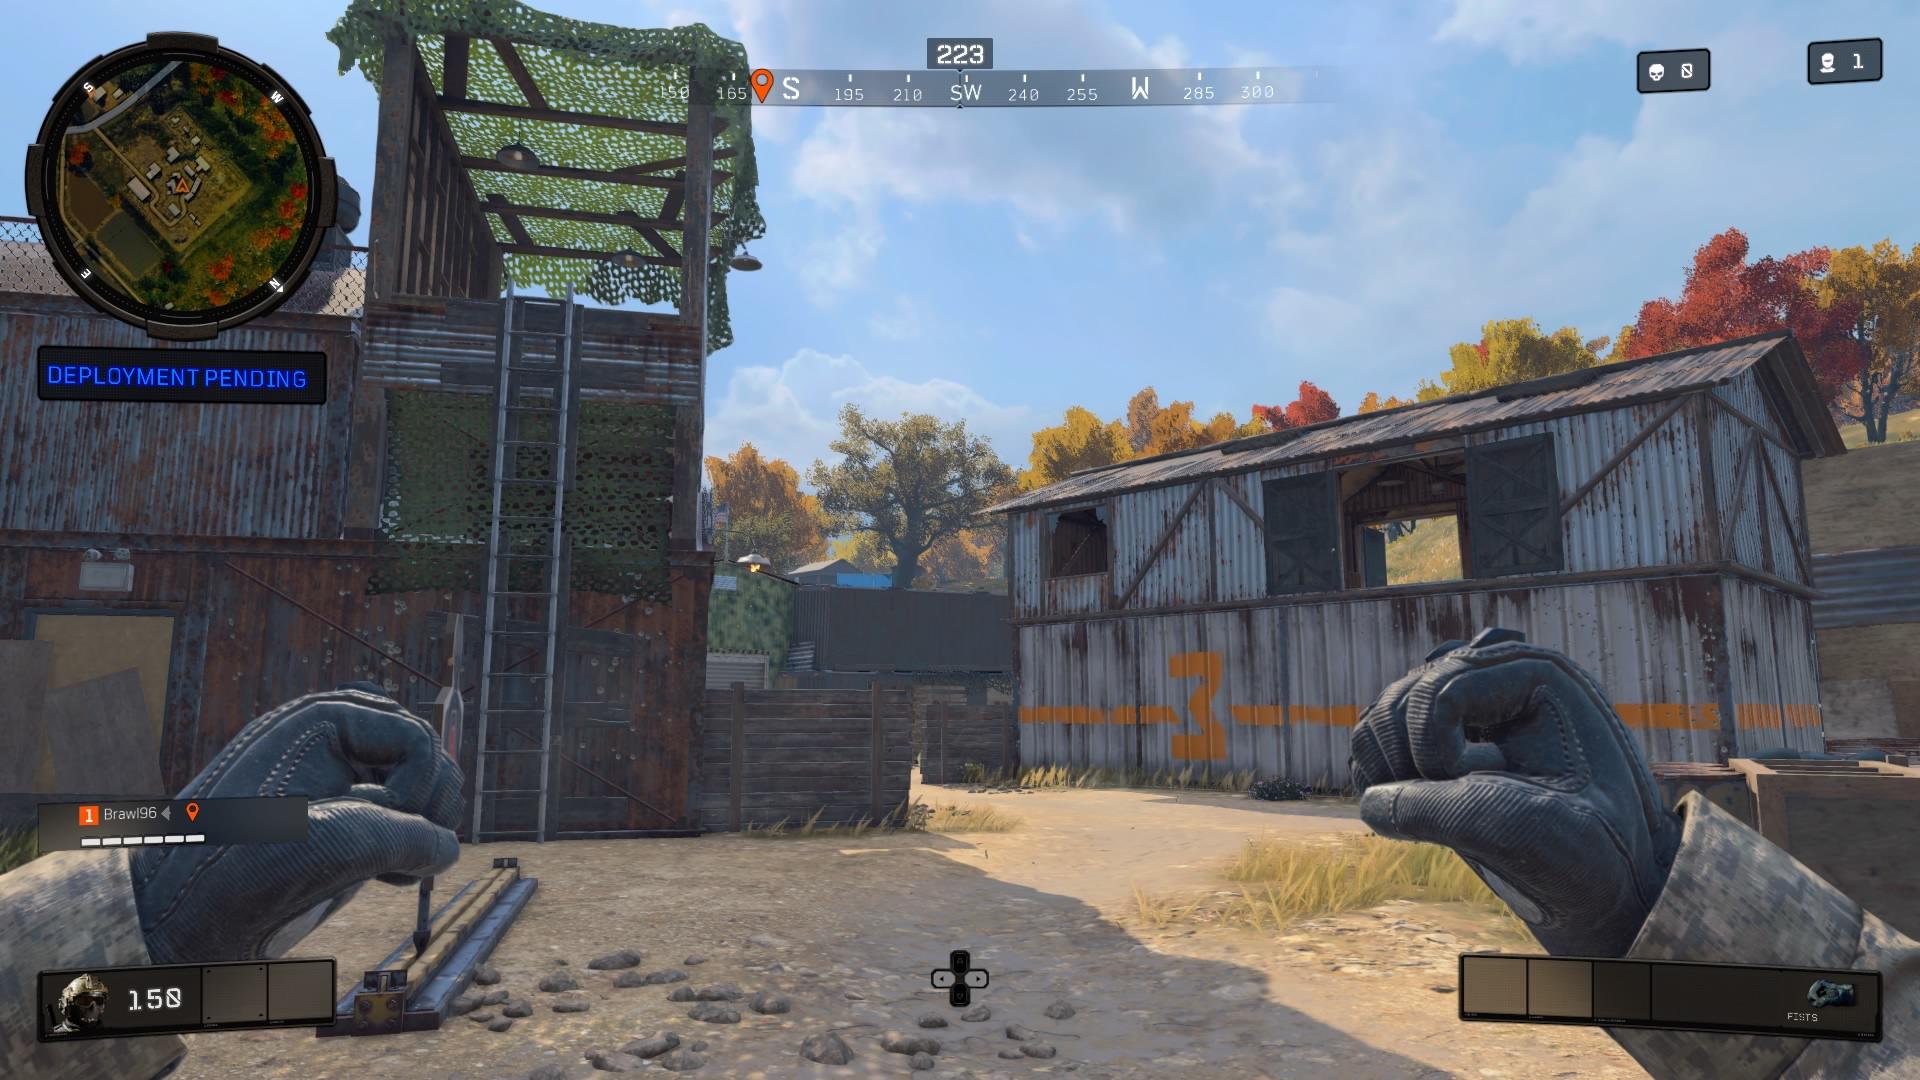 Look out for campers in this area of Firing Range
(E4): At the center of the map, Firing Range has the highest probability of being in the circle, or closest to it, every game. Couple that together with players nostalgia and familiarity to the area and you are essentially looking at a free-for-all match with no respawns. Surviving here really comes down to luck as you can have the best accuracy in the world, but if some noob finds a gun before you do, you’re dead.
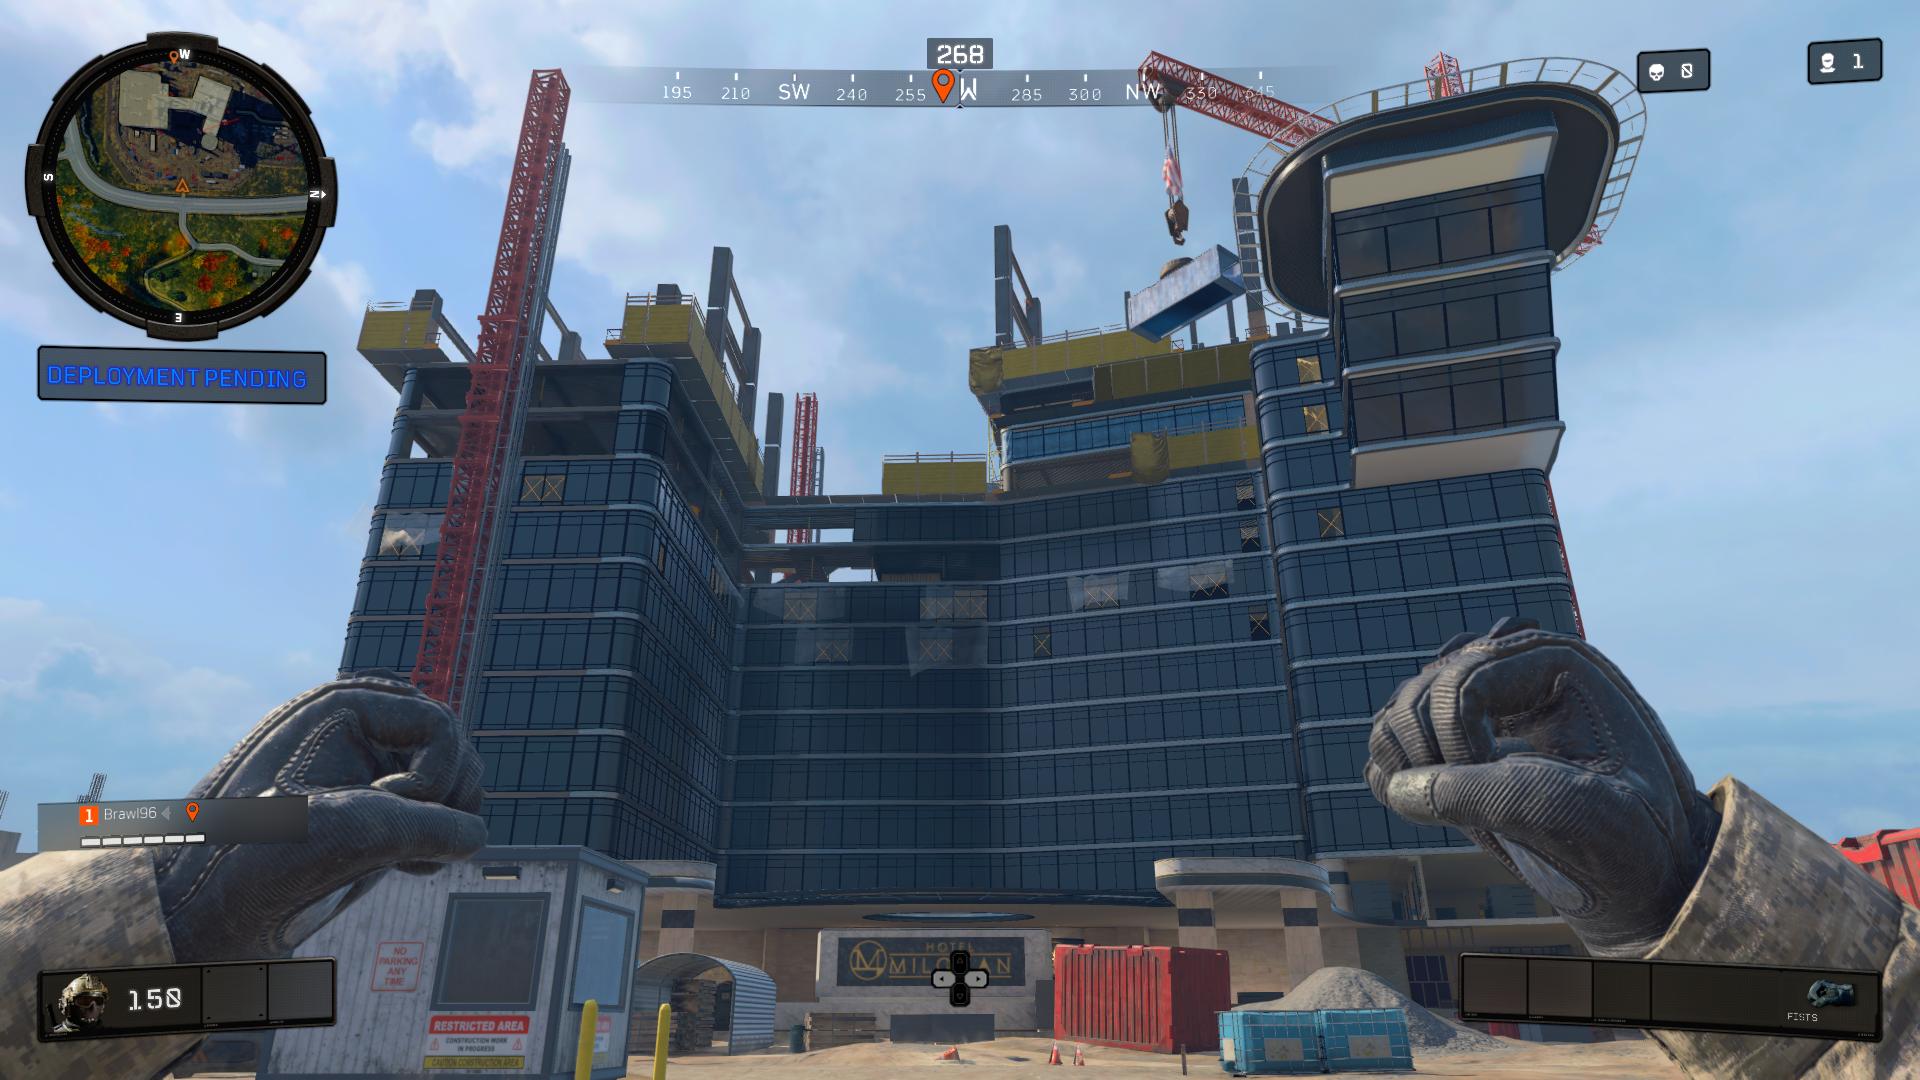 You’re better off avoiding Construction Site if you haven’t landed there from the start.
(C2) – While most locations require you to have your head on a swivel, Construction Site adds an extra layer to that and forces you to think laterally as well. Whether you drop on the top, bottom, or middle floors, enemies will be able to spot you from almost any angle. The major benefit of landing here opposed to other areas is how easy it is to just bail when things go south. As the tallest point on the map, redeploying your wing suit for a quick exit is as easy and sprinting off the building and holding the jump button.
Character Unlocks:
If structured quests are more your speed, you’re going to want to check out these locations to find Mission Items that allow you to unlock in-game character skins. For a more detailed guide on how to unlock every character in Blackout, click here.
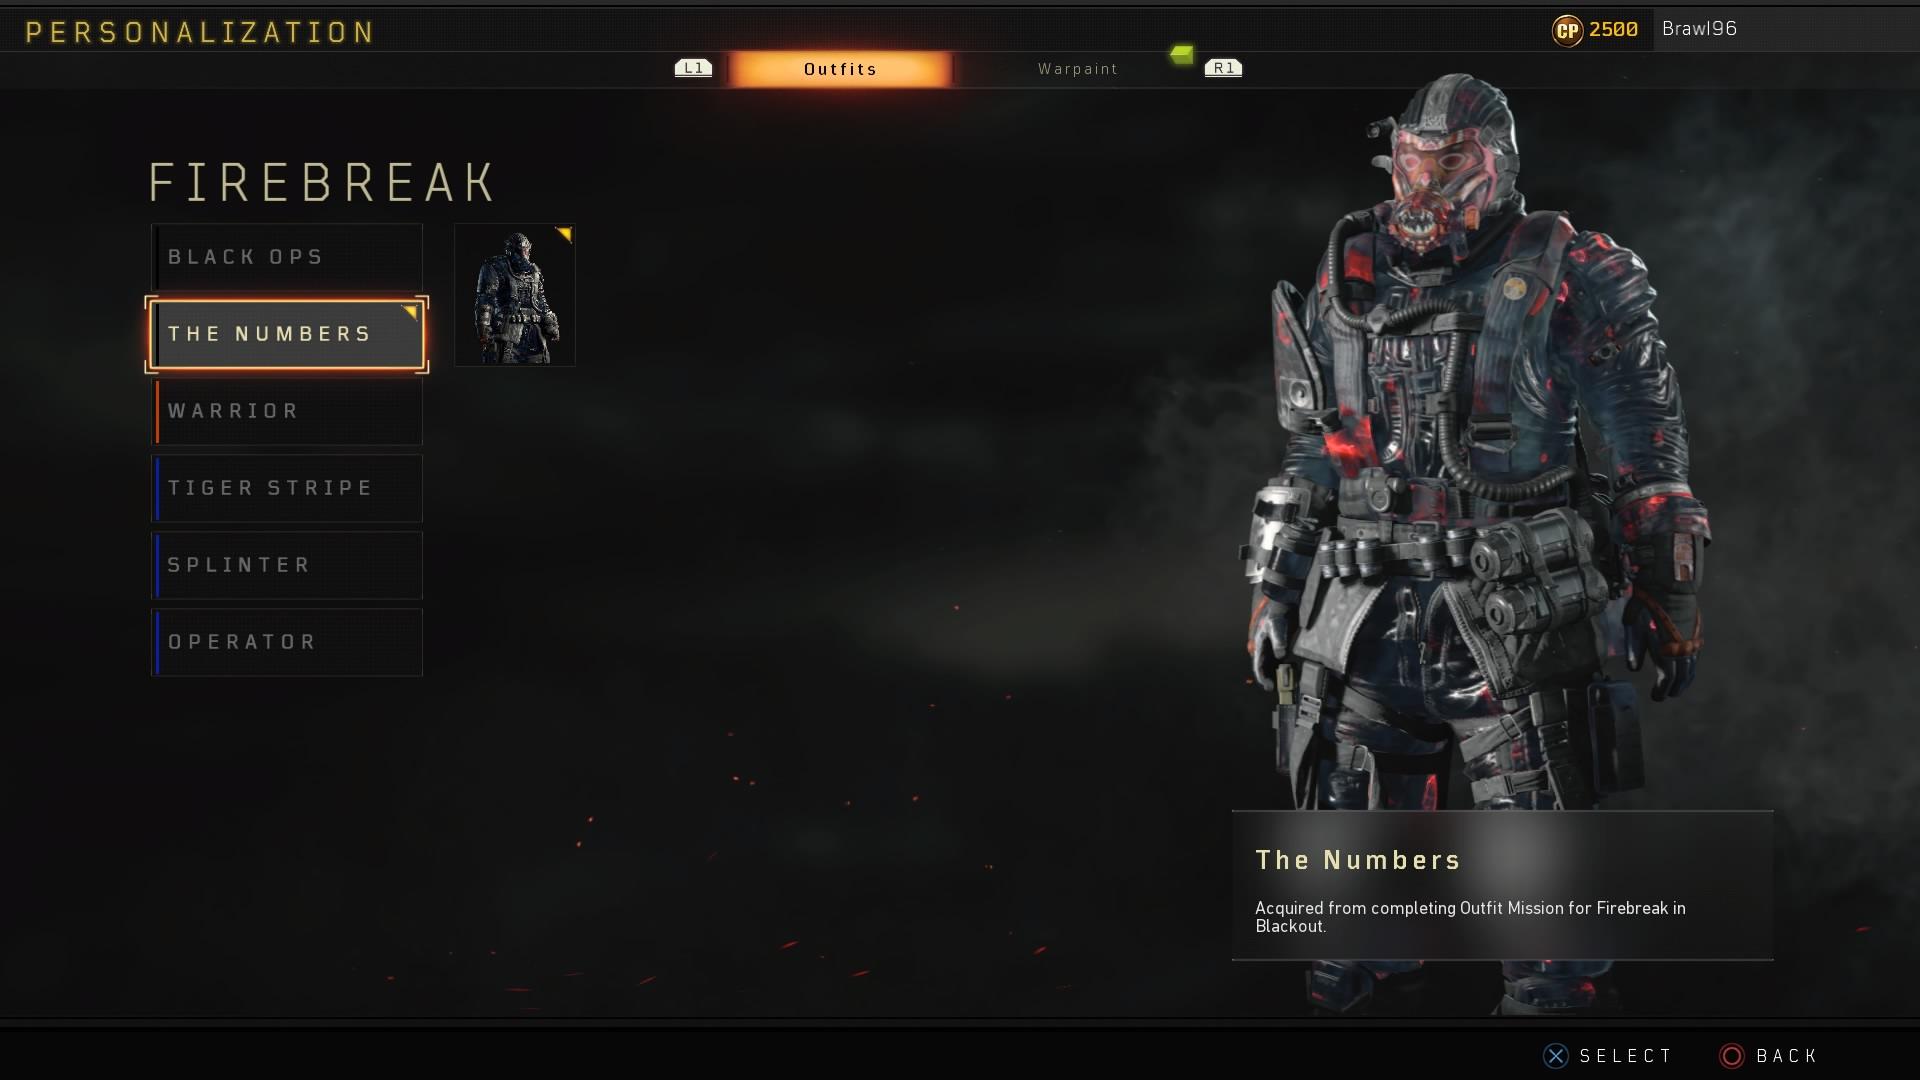 The Numbers skin is the reward for completing specialist character missions.
The Ushanka Hat for Reznov can be found near fountains in Estates (D1) and Asylum (G4). Woods’ Bandanna for Frank Woods is located north of Firing Range at (D3).
Nikolai’s Russian Tanker Hat is inside the mausoleum in the Graveyard (H4). Takeo’s Lettter to the Emperor can be found alongside the Typewriter in Asylum (G4), Boxing Ring (F6), and top floor of the Lighthouse (C7). The Juggernog Bottle for Tank always spawns in the underground dining room on Nuketown Island (B5).
To unlock the Numbers outfit for Ruin, his Punching Mitts could be found in the Asylum (G4), Construction Site (C2), Lighthouse (C7), and Turbine (G6). Seraph’s mission item can be found in the Firing Range (E4) after shooting a target with a pistol.
Remember these tips:
- Don’t be afraid to audible. If you see a good amount of enemy players already dropping where you wanted to go, head somewhere else first, then return to them with a gun for a quick kill.
- Get comfortable with the wing suit. When jumping out of the deployment plane, face straight down until you reach about 55mph, then quickly level out your character to gain maximum horizontal distance.
- Experiment more. It’s easy to get stuck in a rut where you keep dropping in the same locations and the same outcomes play out. If your’re not finding any luck in your favorite spots, switch it up.
- Switch to your sidearm, it’s faster than reloading.
Keep it locked to @CharlieINTEL for future Blackout map changes, guides, and news.