Slums Multiplayer Map Breakdown for Black Ops 4
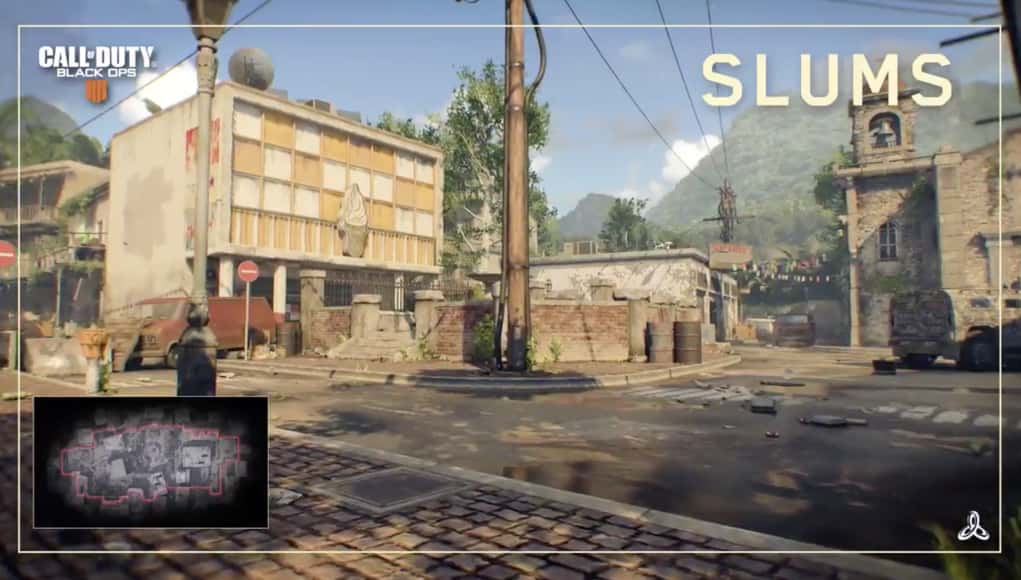
Slums, a fan favorite from Black Ops 2, returned with the release of Black Ops 4, but the gameplay has changed a bit since the old days.
Due to Black Ops 4 increased movement speeds, old maps that are reintroduced from previous titles do not necessarily feel the same. This definitely applies to Slums. The gameplay has significantly been sped up and spawns have been slightly tweaked since Black Ops 2.
With help from XclusiveAce’s thorough breakdown, let’s take a look at Slums in Black Ops 4.
Let’s start the discussion from the spawns.
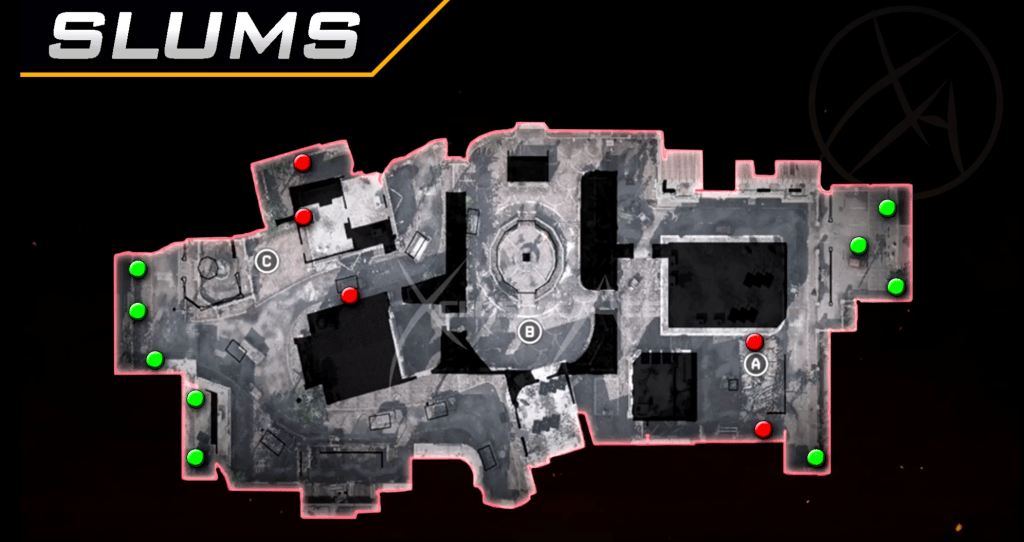
The green dots represent the primary spawn points which will be used at most points during the game. These are the positions where players will initially spawn and will continue spawn unless the other team pushes you out/your team pushes the other spawn.
The red dots mark emergency spawns or “E-spawns” which are used in special circumstances. In Black Ops 4, E-spawns are used in two specific situations. When the enemy is pushing the current primary spawns, but has not yet flipped them completely and when the entirety of the enemy team is on the other side of the map.
The second option comes into play most in Hardpoint, where teams will generally stack together to control the point.
Moving on, let’s take a peek at the most hotly contested areas of the map.
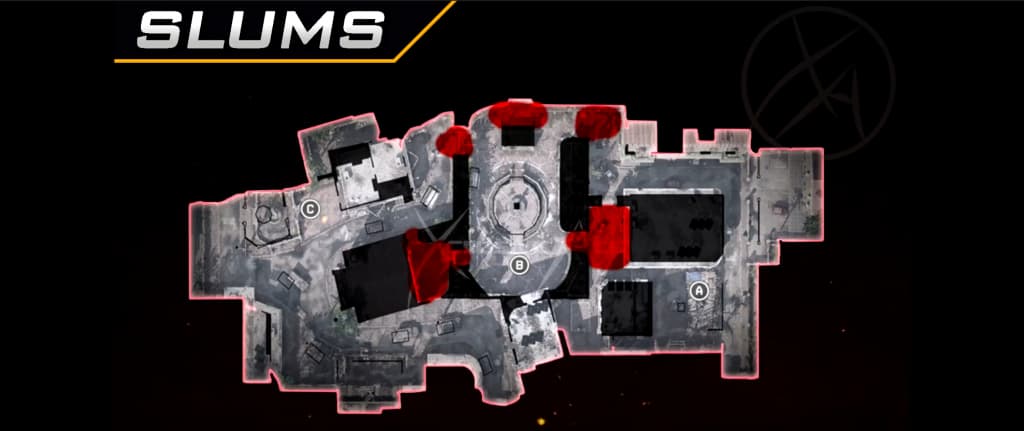
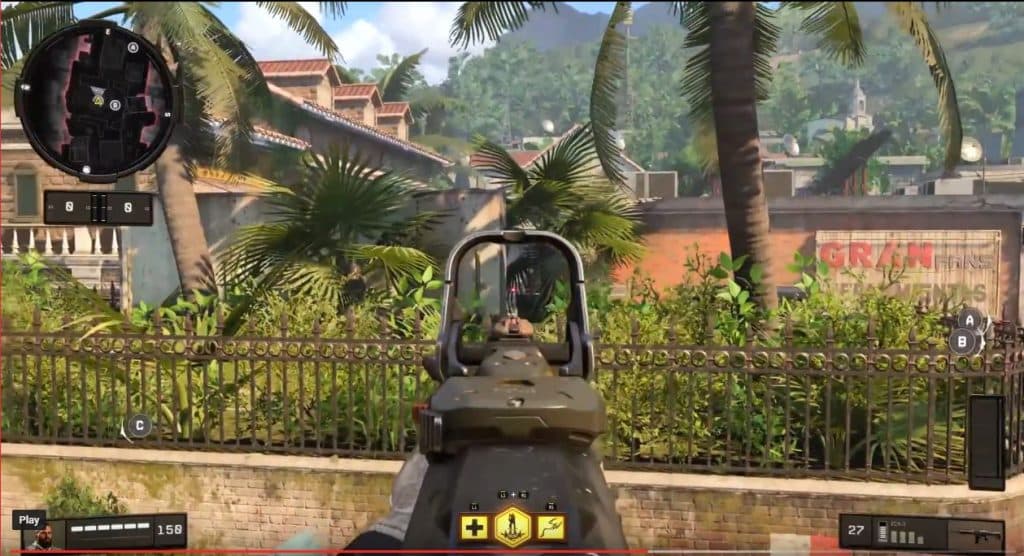
As the matches begin, the combat on Slums is funneled directly towards the middle of the map. This happens mostly in the top and middle lanes.
The middle features two opposing long range sight-lines. Graveyard (left of center red patch) and Yellow (right of center red patch). In Black Ops 2, most player opted to stay out of Graveyard and flank around the bottom of the map through “Blue.”
However, with the quick slide of Black Ops 4, many players can be seen making a run through Graveyard into the middle of map. This is because the gun-fighting from Graveyard can be difficult as Yellow provides more cover to shooters.
The other hotspots on the map situate on the top side. The area is often called “Brick.”
Either side of Brick provides a single power position (left/right top red patches) and the main Brick structure.
The fights are an interesting mix between medium range gunplay and close range chaos. The suggested move here is to use the Brick structure to confuse enemies as you fly out from either side with teammates. This creates a problem for enemies on the other side as they have to aim at two positions at once.
Now, due to XclusiveAce’s map surveying skills, let’s look at two sneaky spots you can use to your advantage.
The first spot, pictured above, makes use of the bottom side of the map. XclusiveAce has climbed atop one of the cars and peaks over the broken wall which leads to the middle of the map. This spot gives you a clear sightline to Yellow and allows teammates to pass safely through Graveyard into mid-map.
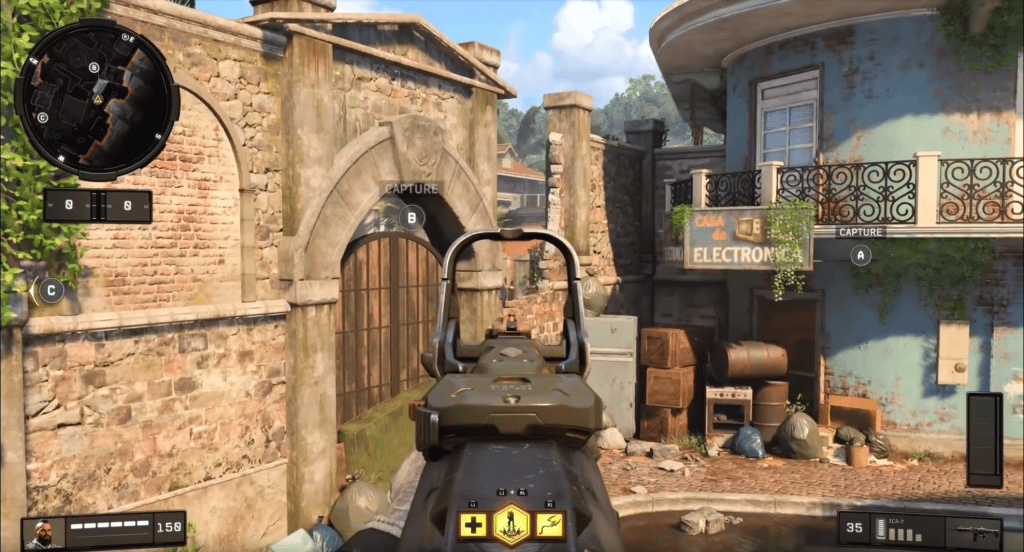
This spot is simply superb and we must give massive props to XclusiveAce for finding it/rediscovering it. The player can into the back of the spawn (right-side spawn in relation to above maps) through the middle foliage. This gives a perfect sightline to possible enemies sitting on a powerful spot which covers the spawn.
Importantly, this spot does not flip spawns as the player does get full line-of-sight on the back parking area.
You can check out the full video on XclusiveAce’s channel. The video is also embedded below for convenience.
For more Call of Duty news, guides, and more, follow @CharlieIntel on Twitter.