Tips and tricks to dominate in Black Ops 4 Search & Destroy
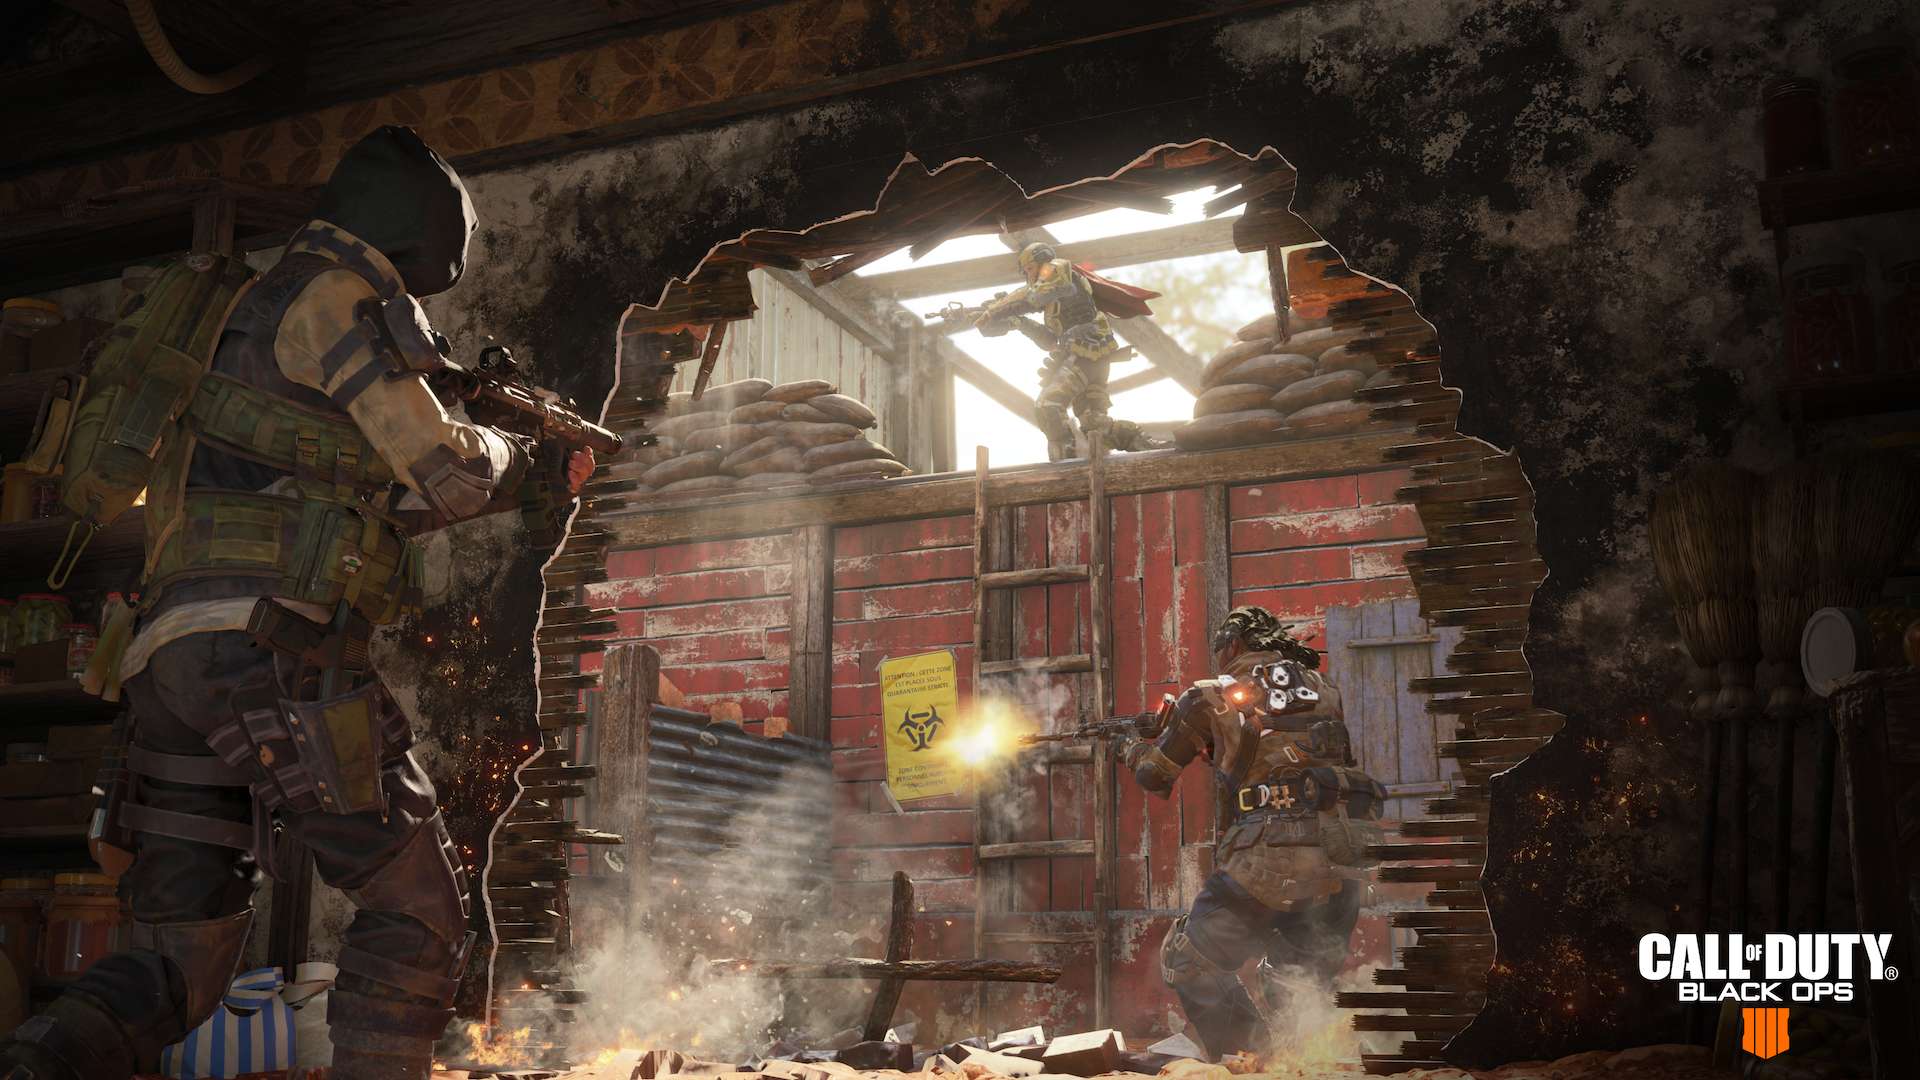
Search and Destroy brings the fever-pitched combat of Call of Duty to a slower, more tactical pace.
This leads to more opportunities for players to make plans ahead of time to benefit their team’s gameplay and increase chances of winning. Today, let’s take a look at some ways to improve your winning percentages in SnD.
Site Selection
In Search and Destroy, each and every map contains two sites, A & B. On most maps, one of these sites is favorable over the other. This is due to map balance design decisions in relation to sightlines, common player routes, and effective defensive positions.
The importance of knowing the stronger site to plant can ease attacking rounds and help predict enemy attacks on defense.
Common signs of a stronger site (from the attacker’s point of view) are close-quarters fights, shorter distance to site, and good line of sight to the site after plants. Not every strong site will contain all of these features, but expect to see at least one.
On defense, you won’t get to choose which site to go to and many times will be forced to check on both. To help ensure victory, place the majority of your team on stronger site from the attackers’ point of view.
This strategy helps mitigate overwhelming rushes from the attackers. Send one or two players to the weaker site and rotate if necessary.
Safe Rotations
As for the philosophy behind safe and effective rotations, you must study the maps one-by-one. Most maps contain intersecting paths and routes in-between main lanes. These help with rotations, be sure to use them whenever possible.
With that said, the quickest route through the map is not also the best nor the safest. In SnD, the bomb plant starts a 45-second countdown. Don’t panic, 45-seconds is much longer than it may initially feel.
Be sure to plan out your routes and if you know that the enemy is holding the intersecting routes, take the long way around. However, keep in mind that you cannot afford delays on a longer flank.
Team Composition
Team Composition is important in all game-modes, but due to the slower place of SnD, it becomes even more important. We’ll split this section into two parts, Specialists and Class Setups. Let’s start with Specialists.
In SnD, you will want your team to choose the five fastest specialist abilities to receive. SnD is a gamemode with less kills to go around, which means less points aka less specialist progression. The current suggested Specialists for use are Crash, Sereph, Battery, Torque, and Prophet. If you are playing a CWL playlist, Torque should be switched out for Ruin.
As for team class compositions, the combos can get a little more map specific. As a general rule, two SMGs, two mid-range ARs (Maddox/VAPR), and a long-range AR (ICR) will carry you through.
Certain maps like Hacienda & Arsenal may require two ICRs due to more long sightlines. Complex maps such as Gridlock will require weapon switches based on bomb sites due to the heavy differences in sites.
With these tips, we hope you will be able to get better results in public & CWL SnD matches. Each match plays out slightly differently and as such you may have to iterate on the above tips.
If you are struggling with subpar teammates, we suggest hopping into game chat and teaching them a few of these tips in a calm, mild-mannered tone. You just might improve both your experiences.
Be sure to follow @CharlieIntel on Twitter for more news, guides, and other original content.